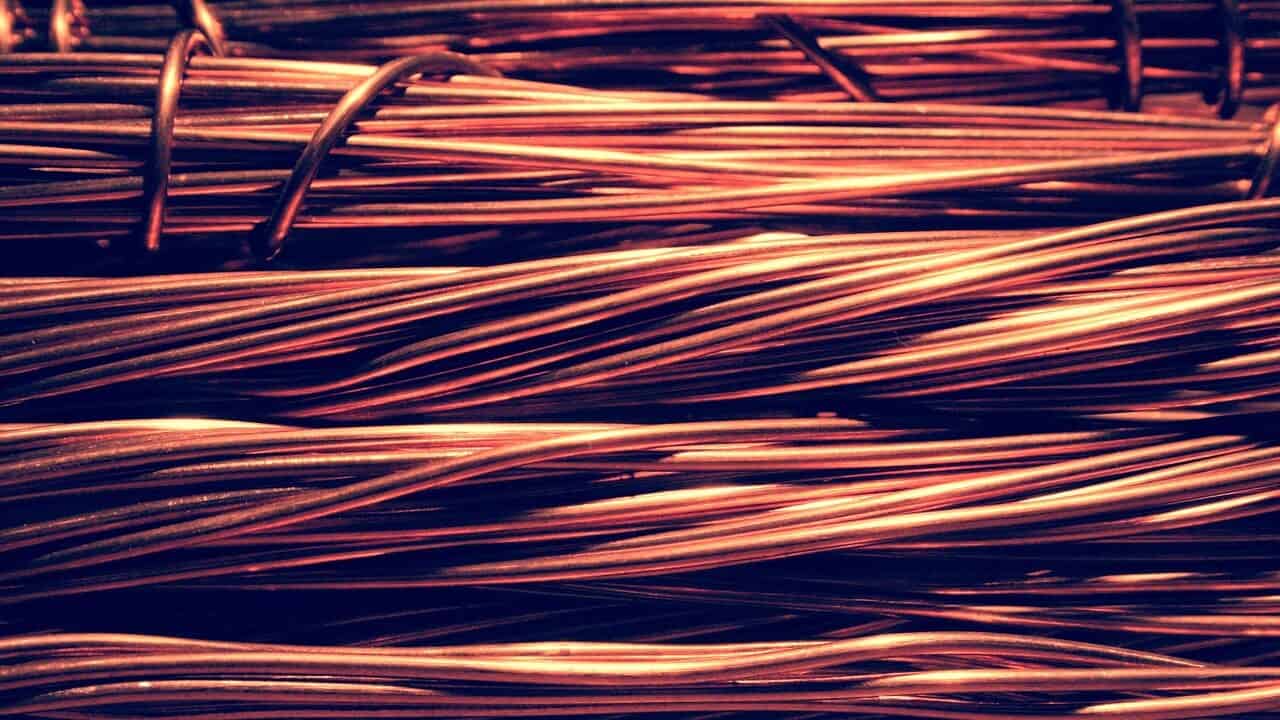
How Metal Wire is Made: Understanding the Wire Drawing Process
This article goes beyond a simple explanation of wire drawing to give you a complete technical understanding. We will explore the science, materials, and process steps that turn a thick metal rod into thin wire. For engineers and scientists, understanding these basics is not just for learning; it is the foundation for making the process better, controlling quality, and creating new innovations. We will break down the main ideas of plastic deformation, which is the foundation of the entire process. We will then take a detailed look at the most important tool: the drawing die, studying its shape and materials. After this, we will investigate how key process settings—such as speed, reduction, and temperature—work together to influence the final product. A major part of our analysis will focus on how the material changes inside, specifically the effects of work hardening and the healing power of annealing. We will also present an expert-level view of lubrication theory, moving from its basic function to the mechanics of fluid films. Finally, we will combine this knowledge into a practical guide for finding the root causes of common wire problems. This complete approach is designed to provide the technical depth needed for true process mastery.
How Metal Changes Shape
To technically analyze wire drawing, we must first understand the basic principles of plastic deformation in bendable metals. This is the permanent change in shape that happens when a material experiences stress that goes beyond its elastic limit. Unlike elastic deformation, where the material returns to its original shape when the load is removed, plastic deformation involves rearranging the material’s internal atomic structure. Wire drawing is a controlled use of this principle, using pulling force to create a desired and permanent reduction in cross-sectional area. The entire process depends on our ability to precisely manage the stresses applied to the workpiece, keeping them above the material’s yield point but safely below its ultimate tensile strength to prevent breaking.
Stress, Strain, and Yield
The relationship between stress and strain is central to understanding material behavior. Tensile stress is the measure of the internal force acting within the material per unit of area, effectively the pulling force applied to the wire. Strain is the measure of the resulting deformation or stretching relative to the wire’s original length. When we plot stress versus strain for a bendable metal, we see a distinct curve. Initially, in the elastic region, stress is directly proportional to strain. If the load is removed here, the material springs back. However, once the applied stress goes beyond the material’s yield strength, we enter the plastic region. At this point, permanent deformation begins. Dislocations within the metal’s crystal lattice start to move and multiply, and the material will not return to its original dimensions. Successful wire drawing operates exclusively within this plastic region.
Calculating Drawing Stress
The theoretical stress required to draw a wire, the drawing stress (σd), can be estimated using basic models. A common approach, derived from slab analysis, provides an ideal stress calculation that ignores friction and redundant work. The formula is expressed as:
σd = Y_avg * ln(A₀/Aƒ)
Here, Y_avg represents the average true stress of the material as it deforms through the die. The term ln(A₀/Aƒ) is the true strain (ε), where A₀ is the initial cross-sectional area and Aƒ is the final cross-sectional area. While this formula provides a baseline, its primary value is in showing the core relationship: the required drawing stress is directly proportional to the material’s strength and the magnitude of deformation (strain). A larger reduction in area or a stronger material will naturally require a higher drawing stress.
Friction and Redundant Work
In any real-world drawing operation, the actual drawing stress is significantly higher than the ideal stress calculated above. This is due to two additional energy-consuming factors. The first is friction, which is the force resisting the movement of the wire as it slides against the surface of the drawing die. This frictional force depends on the coefficient of friction between the wire and die materials, the contact pressure, and the effectiveness of the lubricant. The second factor is redundant work. This term describes the non-uniform internal shearing that occurs within the material as it is forced to change shape through the cone-shaped die. The metal does not flow perfectly smoothly; instead, it undergoes complex internal distortions that consume energy but do not contribute to the change in length or diameter. Redundant work is heavily influenced by the die’s geometry, specifically its approach angle.
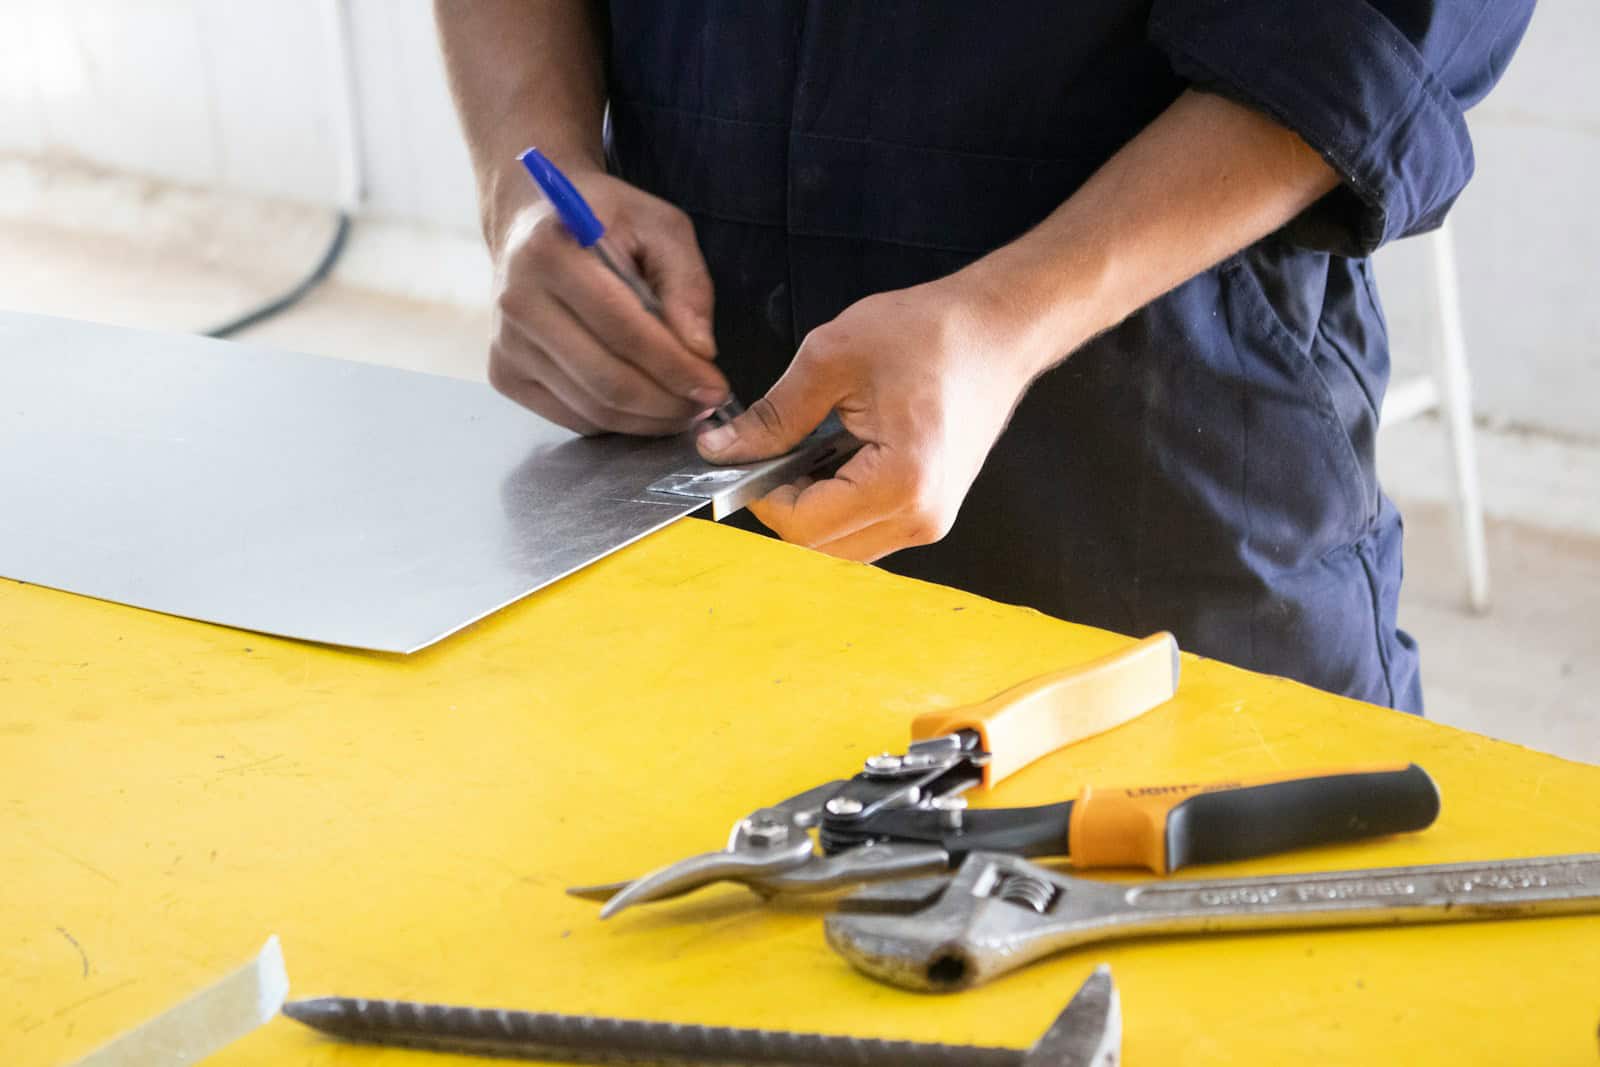
Anatomy of a Drawing Die
The wire drawing die is the heart of the process, a precision tool responsible for the wire’s final dimensions, geometry, and surface finish. Its design and material composition are critical determinants of process efficiency, wire quality, and operational cost. Though it appears simple, the internal geometry of a die is composed of distinct, functional zones, each playing a specific role in the material’s transformation. The extreme pressures and abrasive conditions within the die demand the use of highly specialized, wear-resistant materials. Understanding the die’s anatomy is fundamental to troubleshooting and process control.
Four Critical Die Zones
As the wire passes through the die, it travels through four distinct zones, each with a specific function:
- Bell/Entrance: This is the smooth, curved entry point of the die. Its primary function is to guide the wire cleanly into the reduction zone. It also acts as a reservoir, holding and funneling lubricant into the die, which is essential for establishing the lubricating film.
- Approach/Reduction Angle: This is the cone-shaped section where the actual work of wire drawing occurs. The diameter of the wire is progressively reduced as it is pulled through this zone. The specific angle of this cone, known as the approach angle (α), is a critical design parameter that influences drawing force, redundant work, and heat generation.
- Bearing/Land: This is a short, parallel-sided section immediately following the approach angle. Its purpose is to stabilize the wire and ensure its final diameter and roundness are precise. The length of the bearing is carefully controlled; too long, and it creates excessive friction; too short, and it may lead to rapid wear and loss of dimensional accuracy.
- Back Relief: This is a cone-shaped exit zone with a wider angle than the approach. It provides a clear exit path for the finished wire, preventing the die from scoring or scratching the wire’s surface as it exits under tension.
The Science of Die Materials
Die material selected for a drawing die must withstand a hostile environment characterized by immense pressure, significant heat, and constant abrasion. The choice of material is a balance between performance, toughness, and cost, tailored to the specific application. The primary classes of materials used are tungsten carbide, polycrystalline diamond, and natural diamond, each offering a unique profile of properties.
Table 1: Comparative Analysis of Wire Drawing Die Materials
To aid in selection, we can compare the key characteristics of these common die materials. The choice depends on the wire material being drawn, the required wire diameter and finish, drawing speed, and economic considerations.
| Merkmal | Tungsten Carbide (WC) | cURL Too many subrequests. | Natural Diamond |
| Härte | Sehr hoch | Extrem hoch | Höchste |
| Wear Resistance | Gut bis Ausgezeichnet | Superior | Ausgezeichnet |
| Zähigkeit | High (Resists fracture) | Mäßig | Low (Brittle) |
| Typische Anwendung | Large diameter steel, alloys | cURL Too many subrequests. | cURL Too many subrequests. |
| Relativer Kostenfaktor | Niedrig bis Moderat | Hoch | Sehr hoch |
cURL Too many subrequests.
cURL Too many subrequests.
cURL Too many subrequests.
cURL Too many subrequests.
- cURL Too many subrequests.
- cURL Too many subrequests.
cURL Too many subrequests.
cURL Too many subrequests.
- cURL Too many subrequests.
- cURL Too many subrequests.
cURL Too many subrequests.
cURL Too many subrequests.
- cURL Too many subrequests.
- cURL Too many subrequests.
- cURL Too many subrequests.
cURL Too many subrequests.
cURL Too many subrequests. Wärmebehandlungsverfahren cURL Too many subrequests.
cURL Too many subrequests.
cURL Too many subrequests.
cURL Too many subrequests.
cURL Too many subrequests. Wärmebehandlung cURL Too many subrequests. cURL Too many subrequests. cURL Too many subrequests.
cURL Too many subrequests.
cURL Too many subrequests. cURL Too many subrequests. cURL Too many subrequests.
| cURL Too many subrequests. | cURL Too many subrequests. | cURL Too many subrequests. | cURL Too many subrequests. | cURL Too many subrequests. | Anmerkungen |
| cURL Too many subrequests. | 10.0 | 0% | 350 | 35% | cURL Too many subrequests. |
| cURL Too many subrequests. | 8.5 | 28% | 520 | 22% | cURL Too many subrequests. |
| cURL Too many subrequests. | 7.0 | 49% | 650 | 15% | cURL Too many subrequests. |
| Pass 3 | 5.5 | 69% | 780 | 8% | Approaching ductility limit |
| cURL Too many subrequests. | 5.5 | 69% | 360 | 33% | Ductility restored |
| Pass 4 | 4.5 | 79% | 550 | 20% | Hardening cycle restarts |
Lubrication Fluid Analysis
Lubrication in wire drawing is not merely a matter of reducing friction; it is a complex engineering discipline that is critical for high-speed, high-quality production. While its basic functions are to reduce drawing force, prevent metal-to-metal contact, and dissipate heat, a deeper analysis reveals a more sophisticated mechanism at work. In optimal conditions, the process relies on the principles of fluid dynamics to create a separating film between the wire and the die. Understanding the theory behind this film is key to diagnosing issues and maximizing performance.
Fluid Lubrication Theory
In high-speed wire drawing, the primary goal is to achieve a state of fluid lubrication. In this regime, the motion of the wire itself acts as a pump. As the wire enters the die, it drags the lubricant into the converging gap formed by the die’s approach angle. The geometry of this gap causes the pressure within the lubricant to increase dramatically, creating a thin but robust, high-pressure film. This fluid film completely separates the surface of the wire from the surface of the die. This separation is what allows for very high drawing speeds, excellent surface finishes, and significantly extended die life. This contrasts with boundary lubrication, which occurs at lower speeds or when the lubricant film is compromised. In boundary lubrication, there is intermittent, microscopic contact between the high points (asperities) of the wire and die surfaces, leading to higher friction and wear.
Lubricant Types and Applications
The choice of lubricant is dictated by the wire material, drawing speed, and required cooling. The two main categories are dry and wet lubricants.
- Dry Lubricants: These are typically metallic soaps, such as sodium stearate or calcium stearate, in a powder form. They are used almost exclusively for drawing ferrous materials like steel rod and wire. The rod is passed through a “lubricant box” filled with the powder immediately before the die. The heat and pressure cause the soap to adhere to the wire surface, forming a solid lubricating layer.
- Wet Lubricants: These are oils or, more commonly, oil-in-water emulsions. They are the standard choice for drawing non-ferrous materials like copper and aluminum, as well as for high-speed drawing of fine steel wires. Wet lubricants are superior coolants, which is critical for dissipating the immense heat generated in high-speed operations. They are flooded over the dies and capstans in a recirculating system.
When we observe a hazy or scratched surface on a copper wire, our first step is to check the lubricant’s concentration and temperature. A low concentration often fails to maintain the necessary fluid film, leading to boundary conditions and die contact. We have found that a 1-2% increase in emulsion concentration can often solve the issue immediately by increasing the fluid’s viscosity and film-forming capability.
Fehlersuche bei häufigen Defekten
Even in a well-controlled wire drawing process, defects can occur. These imperfections are rarely random; they are symptoms of an imbalance in the system, directly linked to the technical principles of mechanics, material science, and lubrication discussed throughout this analysis. A systematic approach to troubleshooting, which connects the visual appearance of a defect to its probable root cause, is the most effective way to implement a lasting solution. This requires moving beyond simply fixing the problem to understanding why it occurred in the first place.
From Symptom to Solution
The ability to diagnose wire defects is a hallmark of an experienced engineer or technician. Each type of defect tells a story about the process conditions. A scratch points to a problem at the die-wire interface, while an internal crack points to a problem with the material flow and stress state within the wire itself. By learning to read these signs, we can quickly identify the out-of-spec parameter—be it die geometry, reduction schedule, or lubrication—and take precise corrective action. The following guide provides a framework for this diagnostic process.
Table 3: Technical Troubleshooting Guide for Wire Drawing Defects
This table organizes common defects, their appearance, their likely technical causes, and the recommended actions to resolve them. It serves as a practical, high-value reference for operators and engineers on the production floor.
| Defekt | Optisches Erscheinungsbild | Wahrscheinliche technische Ursache(n) | Empfohlene Korrekturmaßnahmen |
| Scratches/Die Lines | Long, straight lines along the wire’s length. | – Worn or cracked die bearing.<br>- Abrasive particles in the lubricant. | – Replace the die.<br>- Filter or replace the lubricant. |
| Chevron Cracks (Center Burst) | Internal, v-shaped cracks in the wire’s center. | – Die angle is too large.<br>- Reduction per pass is too high. | – Verwenden Sie eine Matrize mit einem kleineren Ansatzwinkel.<br>- Reduzieren Sie den R% für diesen Durchgang. |
| Cupping (Cup-and-Cone Fracture) | Wire breaks with a distinctive cup-shaped fracture surface. | – Material has lost its ductility due to excessive work hardening. | – Anneal the wire before this pass.<br>- Review the entire pass schedule. |
| Out of Roundness | The wire’s cross-section is oval, not circular. | – Misalignment of the die.<br>- Uneven wear on the die bearing. | – Check and align die holder.<br>- Inspect and replace the die. |
Synthesis for Optimal Production
Our technical analysis has journeyed from the fundamental mechanics of plastic deformation to the practical realities of troubleshooting on the production floor. We have seen that successful wire drawing is a science, not an art. It relies on a precisely controlled and balanced system where die geometry, material behavior, and process variables work in concert. The strength of the final wire is a direct result of controlled work hardening. Its ductility is a managed property, restored by calculated annealing schedules. Its surface finish is a function of the fluid lubrication film separating it from the die. Every aspect of the final product can be traced back to these core principles. A firm grasp of the interplay between stress, strain, die angles, reduction rates, speed, and lubrication is, therefore, the absolute key to producing high-quality wire efficiently, consistently, and with minimal defects.
- Galvanotechnik - Wikipedia https://en.wikipedia.org/wiki/Electroplating
- Eloxieren - Wikipedia https://en.wikipedia.org/wiki/Anodizing
- ScienceDirect Topics - Elektrochemische Oberflächenbehandlung https://www.sciencedirect.com/topics/materials-science/electrochemical-surface-treatment
- ASTM International - Normen zur Oberflächenbehandlung https://www.astm.org/
- Vereinigung für Materialschutz und Performance (AMPP) https://ampp.org/
- ASM International - Oberflächentechnik https://www.asminternational.org/
- NIST - Wissenschaft der Materialmessung https://www.nist.gov/mml
- SpringerLink - Oberflächen- und Beschichtungstechnologie https://link.springer.com/journal/11998
- Materialien heute - Oberflächentechnik https://www.materialstoday.com/
- SAE International - Normen zur Oberflächenbehandlung https://www.sae.org/