 English
  German
  Spanish
  Portuguese
  French
  Japanese
  Arabic
  Korean
  Vietnamese
  Russian
 Load the correct blind rivet, drill the right hole, clamp the materials, keep the tool square, and squeeze until the mandrel snaps.
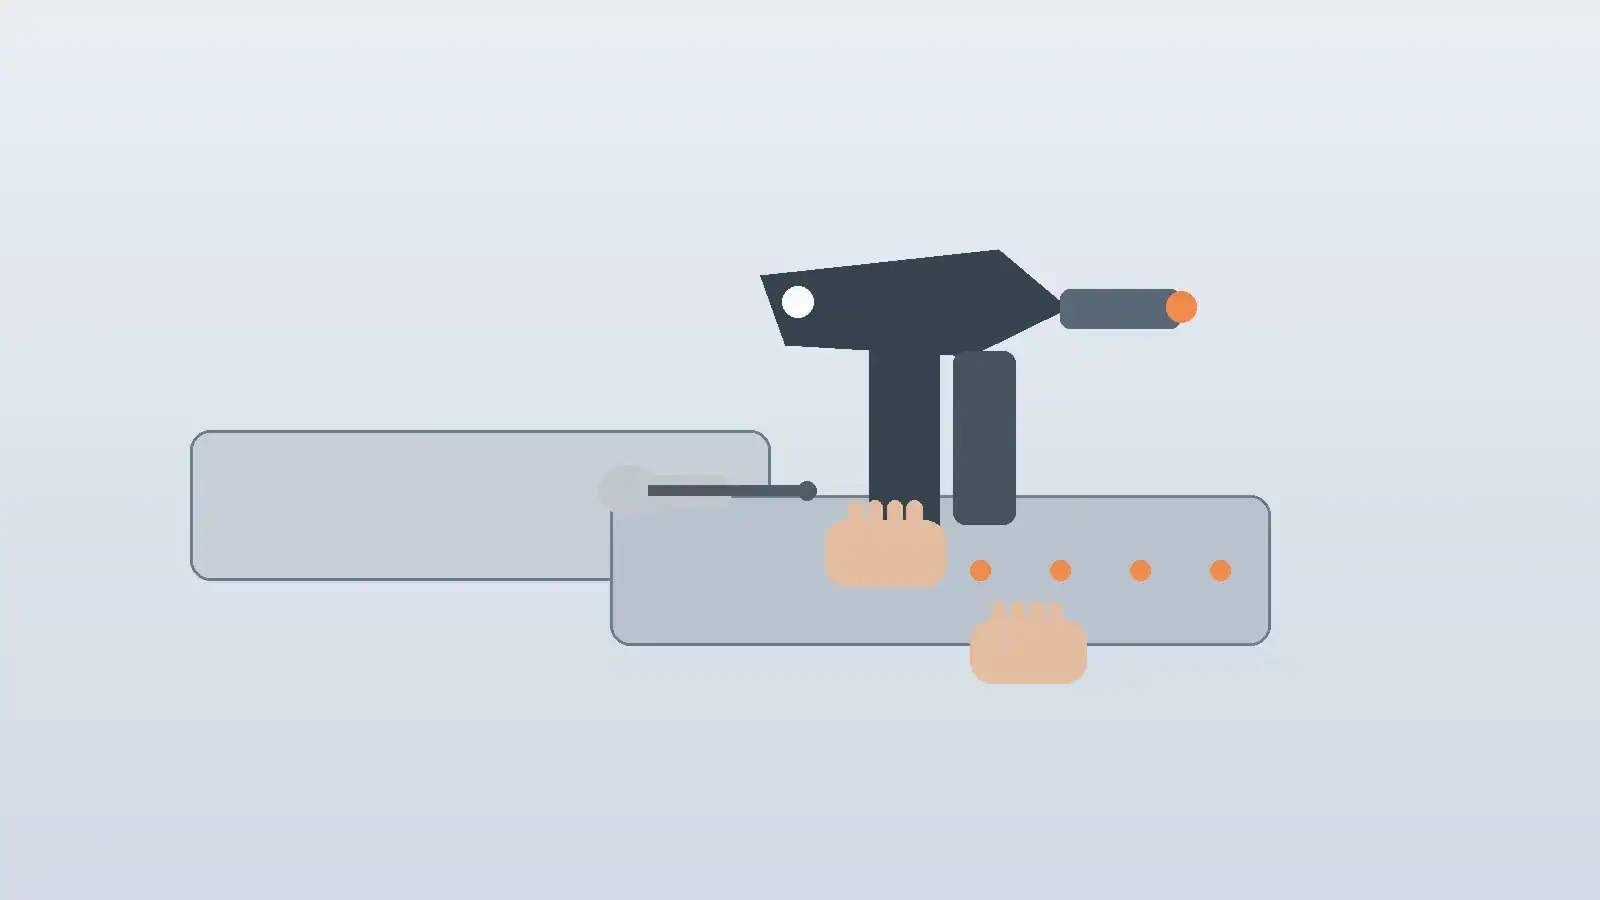
If you search how do you use a rivet gun, most of the top results give you a 90-second demo and stop there. That is useful for seeing the motion. It is not enough for getting repeatable, production-grade results.
The real job is more than “put rivet in tool, squeeze handle.” You need the correct rivet diameter, the right grip range, a burr-free hole, solid panel alignment, and enough judgment to know when a manual hand riveter is fine and when it will fight you. We have seen far more failures from wrong setup than from bad tools. A rivet that looks seated from the front can still bulge between the sheets, spin in the hole, or clamp unevenly on the blind side.
This guide answers how do you use a rivet gun in the way a buyer, fabricator, maintenance technician, or first-time installer actually needs it answered. If your starting point is simply the question how do you use a rivet gun, this article is meant to move you from demo-level understanding to dependable shop-floor execution. We will cover the basic sequence, the tool and rivet choices behind that sequence, the mistakes that cause loose joints, and the applications where blind riveting makes more sense than screws, bolts, or a rivet nut.
What Is a Rivet Gun and What Does It Actually Do?
A rivet gun for blind rivets pulls the mandrel through the rivet body so the blind end deforms and clamps the materials together from one accessible side.
When people ask how do you use a rivet gun, they are almost always talking about a blind rivet tool, not the pneumatic riveting hammers used for solid aircraft rivets. A blind rivet has a hollow body and a mandrel running through the center. The tool grips that mandrel and pulls it backward. As it pulls, the mandrel head expands the back side of the rivet body until the joint clamps tight and the mandrel breaks at a designed notch.
That one-sided installation is the whole advantage. You can fasten ductwork, enclosure panels, appliance housings, trailer skins, and thin-gauge brackets even when the back side is inaccessible. That is why blind rivets sit in the same practical family as many metal fasteners, but they solve a different assembly problem: permanent joining without rear access.
According to STANLEY Engineered Fastening’s POP selection factors, blind rivet selection depends on hole size, grip range, shear, tensile demand, joint thickness, material compatibility, and head style. That list matters because a rivet gun only installs what the rivet was designed to do. If the rivet selection is wrong, even perfect tool technique will not save the joint.
In practice, the most common misunderstanding is simple: operators focus on the tool and ignore the rivet specification. We see this in maintenance shops all the time. Someone grabs “a rivet that looks about right,” drills a hole by eye, and then wonders why the backside mushroom is ugly or why the joint rattles under vibration a week later. The tool did its job. The setup did not.
| Term | What it means | Why it matters when learning how do you use a rivet gun |
|---|---|---|
| Blind rivet | A rivet installed from one side only | The standard fastener used with hand rivet guns |
| Mandrel | The pin pulled by the tool | It creates the clamp force and then snaps off |
| Grip range | The material thickness range the rivet is designed for | Wrong grip range causes weak or distorted setting |
| Hole size | The drilled hole diameter for the rivet body | Too small jams; too large weakens the joint |
| Head style | Dome, large flange, countersunk | Changes bearing area and finished surface |
| Nosepiece | The tip fitted to the rivet gun | Must match mandrel/rivet size to grip correctly |
Here is the short version. A rivet gun is not a fastening decision by itself. It is the installation tool for a blind-rivet system.
Types of Rivet Guns and Rivets You Should Understand First
Before using a rivet gun, match the tool class, rivet body size, mandrel size, head style, and material pair to the job.
If you want a clean answer to how do you use a rivet gun, you have to know what kind of rivet gun and rivet you are holding. Otherwise the steps sound universal but the results are not.
Hand Riveters vs Lever vs Pneumatic Tools
Hand riveters are fine for light maintenance, DIY repair, and low-volume sheet-metal work. Lever riveters give you more stroke and more pulling force with less fatigue. Pneumatic and battery tools are for repetitive production or larger stainless and structural blind rivets.
We generally use this rule:
- Small aluminum rivets in thin sheet: basic hand riveter is enough.
- Mixed diameters and medium-volume work: long-arm or lazy-tong riveter is faster and more consistent.
- Stainless rivets, structural rivets, or repeated line work: powered tool is the right answer.
Most guides skip operator fatigue, but they should not. By the twentieth or thirtieth pull, a cheap short-handled riveter changes your technique. The tool drifts off square, the pull becomes jerky, and your finished joints get less consistent. That is not theory. We have watched it happen on enclosure builds where the first ten rivets looked perfect and the last ten all leaned slightly.
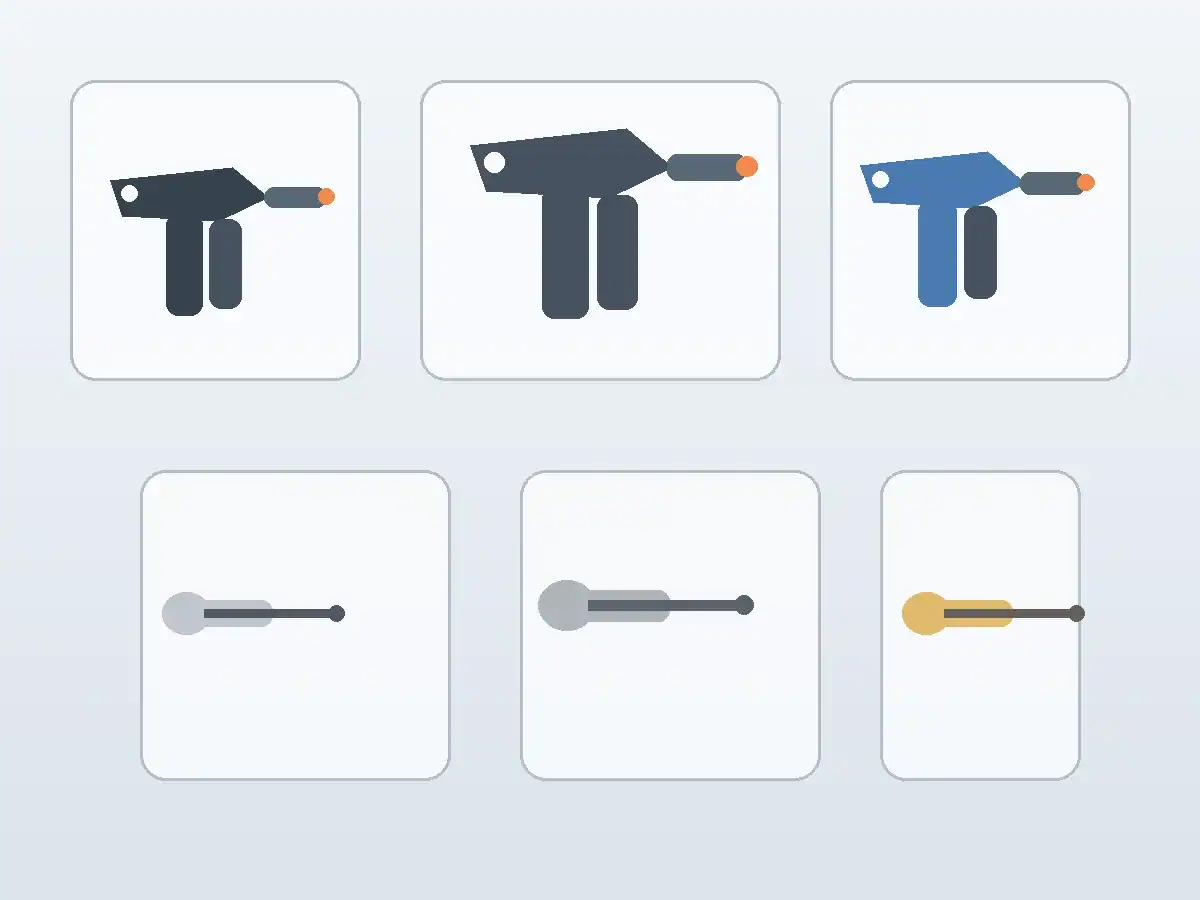
| Tool type | Best for | Strength range | Speed | Typical limitation |
|---|---|---|---|---|
| Basic hand riveter | Home repairs, thin aluminum, small batches | Low to medium | Slow | Fatigue and short stroke |
| Long-handle lever riveter | Larger rivets, better control, shop work | Medium | Moderate | Bulkier in tight spaces |
| Lazy-tong riveter | Repetitive sheet-metal work | Medium | Moderate to fast | Needs working room |
| Battery rivet gun | Mobile field work, faster output | Medium to high | Fast | Higher cost |
| Pneumatic/hydraulic rivet tool | Production lines and structural blind rivets | High | Very fast | Air setup, maintenance, cost |
Rivet Head Styles and When They Matter
Head style changes how the load is spread across the top sheet.
- Dome head is the default for general metalwork.
- Large flange head gives more bearing area and is better for softer or brittle materials.
- Countersunk head is used when you need a flush surface, but only if the material and countersink geometry support it.
STANLEY notes that large flange heads can be the better choice when fastening softer materials because they increase bearing area. That shows up immediately in practice. If you are joining thin plastic or soft aluminum with a small dome head, it is easier to dimple or crush the face sheet.
Rivet Materials and Why You Cannot Ignore Them
The common combinations are aluminum, steel, and stainless steel bodies with matching or different mandrels. Material pairing affects corrosion, pull force, and final joint strength. On the stronger end, a recent Avinox XT data sheet from STANLEY Engineered Fastening lists a 1/4-inch stainless blind rivet with typical shear strength of 14.3 kN and tensile strength of 8.0 kN. That is a reminder that “rivet” is not automatically a weak fastener. The design class matters.
| Rivet type | Best material context | Why you would choose it | Typical risk if chosen badly |
|---|---|---|---|
| Aluminum blind rivet | Light sheet metal, low corrosion demand | Easy to set, low tool force | Too weak for high-vibration or heavy loads |
| Steel blind rivet | General industrial panel work | Stronger than aluminum | Rust risk if unprotected |
| Stainless blind rivet | Outdoor, marine, corrosive service | Corrosion resistance and high strength | Harder to set with basic hand tools |
| Large flange blind rivet | Softer sheet, plastic, composites | Better bearing area | Still fails if hole is oversized |
| Countersunk blind rivet | Flush finishes | Cleaner surface | Weak setup if countersink is poor |
If your application needs a removable thread rather than a permanent clamp, stop and compare blind rivets with screw, nut, and bolt assemblies or rivet nuts. Blind riveting is excellent for permanent joining. It is the wrong answer for a service panel you expect to open later.
How Do You Use a Rivet Gun Step by Step?
To use a rivet gun well, size the rivet, prepare the hole, insert the rivet fully, keep the nosepiece square, and pull until the mandrel snaps cleanly.
This is the part most people came for. If you only remember one section from this article on how do you use a rivet gun, remember this sequence. Here is the full working sequence.
Step 1: Choose the Correct Rivet Size and Grip Range
Measure the total stack thickness of the materials being joined. Then select a blind rivet whose grip range covers that thickness. According to STANLEY’s POP rivet guidance, insufficient rivet length will not let the backside form correctly. That is exactly what we see in failed field repairs: the rivet body expands between the sheets instead of forming a proper blind-side bulb.
If you are new to this, do not guess from head diameter alone. Read the package or spec sheet.
Step 2: Match the Nosepiece to the Rivet
Install the nosepiece that matches the rivet mandrel size. Most hand tools come with interchangeable tips. If the nosepiece is wrong, the jaws may not grip the mandrel well, or the mandrel may wobble during pulling.
This is a small setup step, but it matters. A loose-feeling nosepiece is one of the fastest ways to make the process feel “wrong.”
Step 3: Drill the Right Hole
Drill a clean hole through the materials. The hole must be large enough for easy rivet insertion but not oversized. STANLEY’s selection guide warns that too large a hole reduces shear and tensile strength and can let the rivet expand between the members instead of only on the blind side.
Deburr the hole. Always.
That one detail gets skipped in short videos, but burrs stop the rivet head from seating flat and can also prevent the sheets from pulling tight.
Step 4: Align and Clamp the Materials
Bring the materials into full contact before setting the rivet. If the panels can shift, clamp them. Blind rivets are not gap-closing miracle fasteners. If you try to use the rivet gun to pull warped or misaligned sheets into place, the result is often a distorted rivet body and a loose joint.
Expert tip: If there is visible daylight between the parts before riveting, fix that first. The rivet should clamp a joint, not straighten a bad fit-up.
Step 5: Load the Rivet Into the Tool
Push the mandrel into the nosepiece until the rivet seats. Then insert the rivet body fully into the drilled hole. The head should sit flush against the surface before you squeeze.
Step 6: Hold the Tool Square to the Work
This is the step that separates clean installs from crooked ones. Keep the tool perpendicular to the surface. If you pull at an angle, the rivet can tilt, the backside bulb forms unevenly, and the finished head may sit skewed.
Step 7: Squeeze the Handles Until the Mandrel Breaks
Pull the tool in smooth strokes. Small rivets may set in one stroke; larger ones may take several. You will feel the rivet tighten and then the mandrel will snap. That snap is the end of the setting cycle.
Do not stop halfway just because the rivet “looks close.” A partially set rivet is one of the most common causes of weak joints.
Step 8: Inspect Both What You Can See and What You Can Feel
Check that:
- The front head sits flat.
- The materials are clamped tightly.
- The rivet does not spin.
- The broken mandrel is cleanly separated.
- The joint does not rattle or gap when you flex it lightly.
If the backside is visible, inspect the formed bulb too. In aircraft repair contexts, the FAA’s Advisory Circular 43.13-1B and related maintenance handbooks treat blind rivet selection and installation as controlled workmanship, not casual fastening. That is a useful mindset even outside aerospace. Good riveting is inspectable.
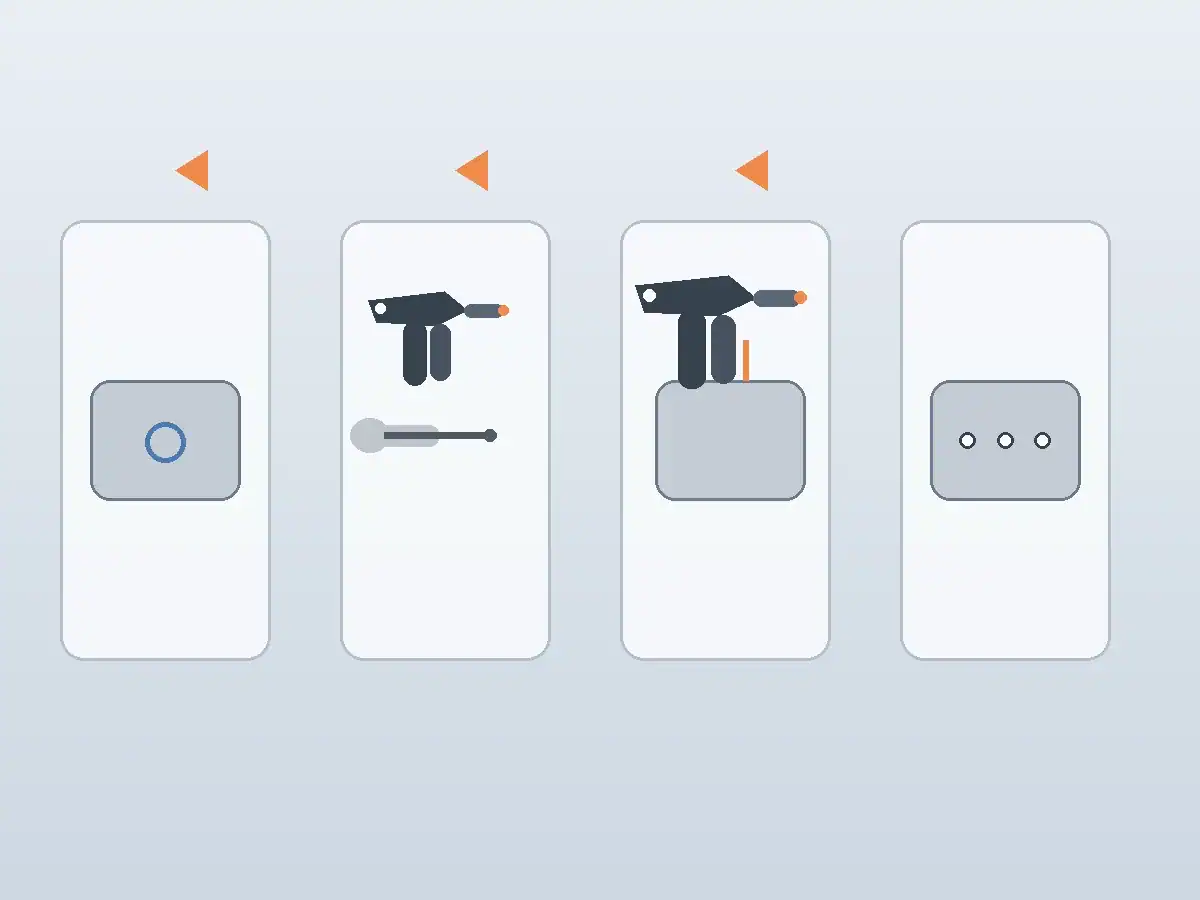
| Step | What to do | What good looks like | Failure sign |
|---|---|---|---|
| 1 | Choose rivet by diameter and grip range | Rivet spec matches stack thickness | Rivet too short or too long |
| 2 | Fit the right nosepiece | Mandrel loads smoothly | Slipping or wobbling mandrel |
| 3 | Drill and deburr hole | Rivet slides in without force | Burrs, oversized hole, ragged edge |
| 4 | Align and clamp materials | No gap before setting | Rivet trying to close the gap |
| 5 | Load rivet into tool and hole | Head sits flush | Rivet not fully seated |
| 6 | Hold tool square | Straight, centered pull | Leaning or tilted rivet |
| 7 | Squeeze until mandrel snaps | Tight joint, clean break | Partial set or crushed face sheet |
| 8 | Inspect the result | No spin, no gap, no rattle | Loose clamp, spinning rivet |
That is the complete answer to how do you use a rivet gun at the installation level. The next question is how to avoid the mistakes that make even a correctly sequenced install fail.
Common Mistakes When Using a Rivet Gun
Most bad blind-rivet joints come from wrong hole size, wrong grip range, poor material fit-up, or a tool held off-axis.
The reason people keep searching how do you use a rivet gun is that the basic motion is easy but the bad outcomes are not obvious until later. A blind rivet can look acceptable at first glance and still fail in service.
Mistake 1: Oversized Holes
Too-large holes reduce joint strength and increase the chance of spinning or poor blind-side formation. This is especially common in field repairs where the original hole has already worn or been drilled out.
If the hole is already oversized, do not just hope a standard rivet will grab. Move to the proper oversize or larger diameter fastener strategy.
Mistake 2: Using the Wrong Grip Range
This is the number one repeat offender. If the rivet is too short for the material stack, it cannot form correctly. If it is too long, the body can buckle oddly and clamp inconsistently.
We see this a lot on mixed-material jobs, such as painted steel plus rubber-backed washer strip plus thin aluminum cover, where the installer measures only the visible metal and forgets the intermediate layer.
Mistake 3: Letting the Tool Tilt
Off-angle pulling creates tilted rivets. Tilted rivets are not just ugly. They load unevenly and can crush one side of the face material.
Mistake 4: Using a Hand Tool Beyond Its Range
A cheap short-handled hand riveter is a poor match for large stainless blind rivets. You may still set the rivet, but the force required encourages half-strokes and rushed technique. If the job needs repeated stainless installation, use a better tool.
Mistake 5: Ignoring Material Compatibility
STANLEY recommends considering the physical and mechanical compatibility of rivet and parent material because major dissimilarity can lead to fatigue or galvanic corrosion issues. That is not academic. Put the wrong material combination outdoors and the failure might start as corrosion staining and end as a loose joint.
Mistake 6: Treating Blind Rivets Like Threaded Fasteners
Blind rivets create a permanent joint. They do not behave like a bolt that can simply be retorqued later. If vibration loosening is your concern in a removable assembly, you may need a threaded solution and anti-loosening strategy instead. Bolt Science’s discussion of self-loosening under vibration is a useful reference for understanding why preload-based joints and permanent riveted joints are different animals.
Where Blind Rivets and Rivet Guns Make the Most Sense
Blind rivets are strongest as a process choice when you need one-sided access, fast installation, permanent clamping, and thin-material joining.
This part is usually missing from the top SERP videos. They show how do you use a rivet gun, but not when you should use one.
Thin Sheet Metal and Enclosures
This is classic blind-rivet territory. Electrical cabinets, duct sections, guard panels, appliance shells, and light brackets all benefit from fast one-sided installation.
In these jobs, the rivet gun is not only a fastening tool. It is a throughput tool. No nut runner on the back side. No helper holding a wrench. No tapped threads in thin material waiting to strip.
Trailer, Automotive, and Body Panel Work
Blind rivets are common in non-structural and semi-structural panel work, especially where access is limited and assembly speed matters. Large flange or sealed variants may be preferred depending on material and exposure.
Field Repair and Maintenance
Rivet guns shine in on-site repairs because they travel well and do not need backside access. That said, field work is also where we see the most sloppy hole prep. Portable does not mean forgiving.
Not the Best Choice for Everything
There are limits.
- If you need repeated disassembly, use a threaded solution.
- If the joint is heavily structural, validate rivet class and engineering requirements.
- If the material is thick enough to tap robust threads, a screw may be better.
- If the joint carries high service loads and future maintenance, compare blind rivets with bolts, locknuts, or rivet nuts.
The ASTM fastener standards catalog and ISO metric thread standard references exist for a reason: permanent fasteners and threaded fasteners serve different design intents. Use the right family for the joint.
How to Choose Better Rivets and Tools in 2026
In 2026, the smart way to use a rivet gun is to treat rivet selection, ergonomic tooling, and inspection discipline as one system instead of three separate decisions.
The process is getting more demanding, not less. Assemblies are lighter, coatings are more specialized, and production teams want faster cycle time without more rework.
Trend 1: More Mixed-Material Assemblies
Aluminum, coated steel, plastic, and composite combinations are common now. That makes head style, corrosion pairing, and clamp load more important than they were in simpler all-steel assemblies.
Trend 2: Better Small Powered Rivet Tools
Battery rivet tools are getting good enough that many shops no longer tolerate repetitive hand riveting outside repair work. Once the tool can set medium stainless blind rivets reliably without air hoses, the productivity case changes.
Trend 3: Higher Inspection Expectations
Customers expect fewer cosmetic defects and fewer loose fasteners. Even when the product is not aerospace, the workmanship expectation keeps drifting upward. The FAA handbooks remain useful reading because they reinforce a discipline mindset: measure, prepare, install, inspect.
Trend 4: Faster Product Turnover, More Maintenance Access Decisions
Design teams are now much more deliberate about which joints should stay permanent and which should stay serviceable. That is one reason we see permanent blind-rivet joints living alongside removable industrial screw or rivet-nut joints in the same product.
| 2026 decision area | Old habit | Better current approach |
|---|---|---|
| Rivet choice | Match only by diameter | Match diameter, grip range, head style, and material pair |
| Tool choice | Use one hand riveter for everything | Match tool force and ergonomics to rivet material and volume |
| Hole prep | Drill and set immediately | Drill, deburr, align, clamp, then set |
| Inspection | Visual glance only | Check clamp, spin resistance, seating, and joint feel |
| Joint design | Rivet by convenience | Choose between permanent rivet and threaded fastener by service need |
Short version: the answer to how do you use a rivet gun is getting less about the squeeze itself and more about disciplined setup. In 2026, the best answer to how do you use a rivet gun is also an answer about selection, inspection, and repeatability.
FAQ
The fastest way to use a rivet gun correctly is to pair the right blind rivet with a clean hole and pull the tool square until the mandrel breaks.
How do you use a rivet gun for the first time?
Start with a small aluminum blind rivet in scrap sheet metal. Fit the correct nosepiece, drill the recommended hole, insert the rivet fully, hold the tool square, and squeeze until the mandrel snaps. Practice on offcuts before touching the real part. Bottom line: your first success should happen on scrap, not on the finished assembly.
Do you need to drill a hole before using a rivet gun?
Yes, for standard blind rivets you need a pre-drilled hole. The hole size must match the rivet body diameter and should be clean and deburred. Bottom line: if the hole is wrong, the rivet set will be wrong.
Why is my rivet spinning after I set it?
A spinning rivet usually means the hole is oversized or the rivet was the wrong fit. It can also happen if the material stack was not clamped tightly or the rivet never fully set. Bottom line: drill out the bad rivet and correct the hole/rivet match instead of trying to save it.
Can you use a rivet gun on thick steel?
Sometimes, but it depends on the rivet class and tool force. Thin and medium sheet steel are common blind-rivet applications; thicker or stronger joints may require larger structural rivets and powered tools. Bottom line: do not assume a basic hand riveter can handle every steel job.
What size rivet should I use?
Use a rivet whose diameter and grip range match the joint. The diameter depends on load and hole size; the grip range must cover the total thickness of all joined materials. Bottom line: measure the stack and read the spec instead of choosing by appearance.
Is a rivet gun better than screws for sheet metal?
For permanent one-sided sheet-metal joints, often yes. Blind rivets install quickly, do not need rear access, and work well in thin material where threads are weak. Bottom line: use rivets for permanent panel joining and screws when future disassembly matters.
How do you remove a blind rivet if it was installed wrong?
Drill through the head carefully until it separates from the body. Use a bit close to the rivet shank size, keep the drill centered, and avoid enlarging the parent hole. Bottom line: removal is straightforward, but preserving hole quality is the real skill.
The Bottom Line
If you needed one practical answer to how do you use a rivet gun, here it is: choose the correct blind rivet, prepare the hole properly, keep the materials tight, hold the tool square, and pull until the mandrel snaps. That sounds simple because the motion is simple. The judgment around the motion is where good work happens.
Most failures we see are preventable. They come from oversized holes, guessed grip ranges, poor fit-up, or asking a light hand tool to do a heavy-duty job. Fix those and blind riveting becomes one of the fastest, cleanest ways to join thin materials when only one side is accessible.
If your next assembly needs a permanent one-sided joint, use this sequence and inspect every set. If it needs future service, compare blind rivets with threaded options before you commit the design. That decision matters just as much as knowing how do you use a rivet gun in the first place.
How do you use a rivet gun for the first time?
Start with a small aluminum blind rivet in scrap sheet metal. Fit the correct nosepiece, drill the recommended hole, insert the rivet fully, hold the tool square, and squeeze until the mandrel snaps. Practice on offcuts before touching the real part. Bottom line: your first success should happen on scrap, not on the finished assembly.
Do you need to drill a hole before using a rivet gun?
Yes, for standard blind rivets you need a pre-drilled hole. The hole size must match the rivet body diameter and should be clean and deburred. Bottom line: if the hole is wrong, the rivet set will be wrong.
Why is my rivet spinning after I set it?
A spinning rivet usually means the hole is oversized or the rivet was the wrong fit. It can also happen if the material stack was not clamped tightly or the rivet never fully set. Bottom line: drill out the bad rivet and correct the hole-rivet match instead of trying to save it.
Can you use a rivet gun on thick steel?
Sometimes, but it depends on the rivet class and tool force. Thin and medium sheet steel are common blind-rivet applications; thicker or stronger joints may require larger structural rivets and powered tools. Bottom line: do not assume a basic hand riveter can handle every steel job.
What size rivet should I use?
Use a rivet whose diameter and grip range match the joint. The diameter depends on load and hole size; the grip range must cover the total thickness of all joined materials. Bottom line: measure the stack and read the spec instead of choosing by appearance.
Is a rivet gun better than screws for sheet metal?
For permanent one-sided sheet-metal joints, often yes. Blind rivets install quickly, do not need rear access, and work well in thin material where threads are weak. Bottom line: use rivets for permanent panel joining and screws when future disassembly matters.
How do you remove a blind rivet if it was installed wrong?
Drill through the head carefully until it separates from the body. Use a bit close to the rivet shank size, keep the drill centered, and avoid enlarging the parent hole. Bottom line: removal is straightforward, but preserving hole quality is the real skill.
Related Products
Solutions & Cluster
Related Articles
- What Is a Screw and Nut — and Why Does the Pairing Matter
- Plastic Screws: Complete Guide to Types, Materials & Applications
- The Complete Guide to Stainless Fixings: Grades, Types, and How to Choose Right (2026)
- Screw Bolt Complete Guide: Types, Differences, Sizes & How to Choose (2026)
- Anti Theft Screws for Licence Plate: The Complete Buyer’s Guide (2026)
- 8.8 Bolt: Complete Guide to Class 8.8 Bolts, Strength, and Applications
- Screws and Bolts: The Complete Guide to Types, Differences, Grades, and Choosing the Right Fastener
- The Complete Guide to Security Screws: Types, Applications & Why They Matter